

sdk.js file. A floating paymove button appears on your page - the customer clicks it and - without leaving the page - goes through the whole payment flow for your product in a modal: from the choice, through the payment, to the confirmation.
The widget works with a product configured in paymove. The flow steps, prices and payment methods come from the product configuration - the customer sees in the modal exactly what they would see on the payment page opened from a link or a QR code.
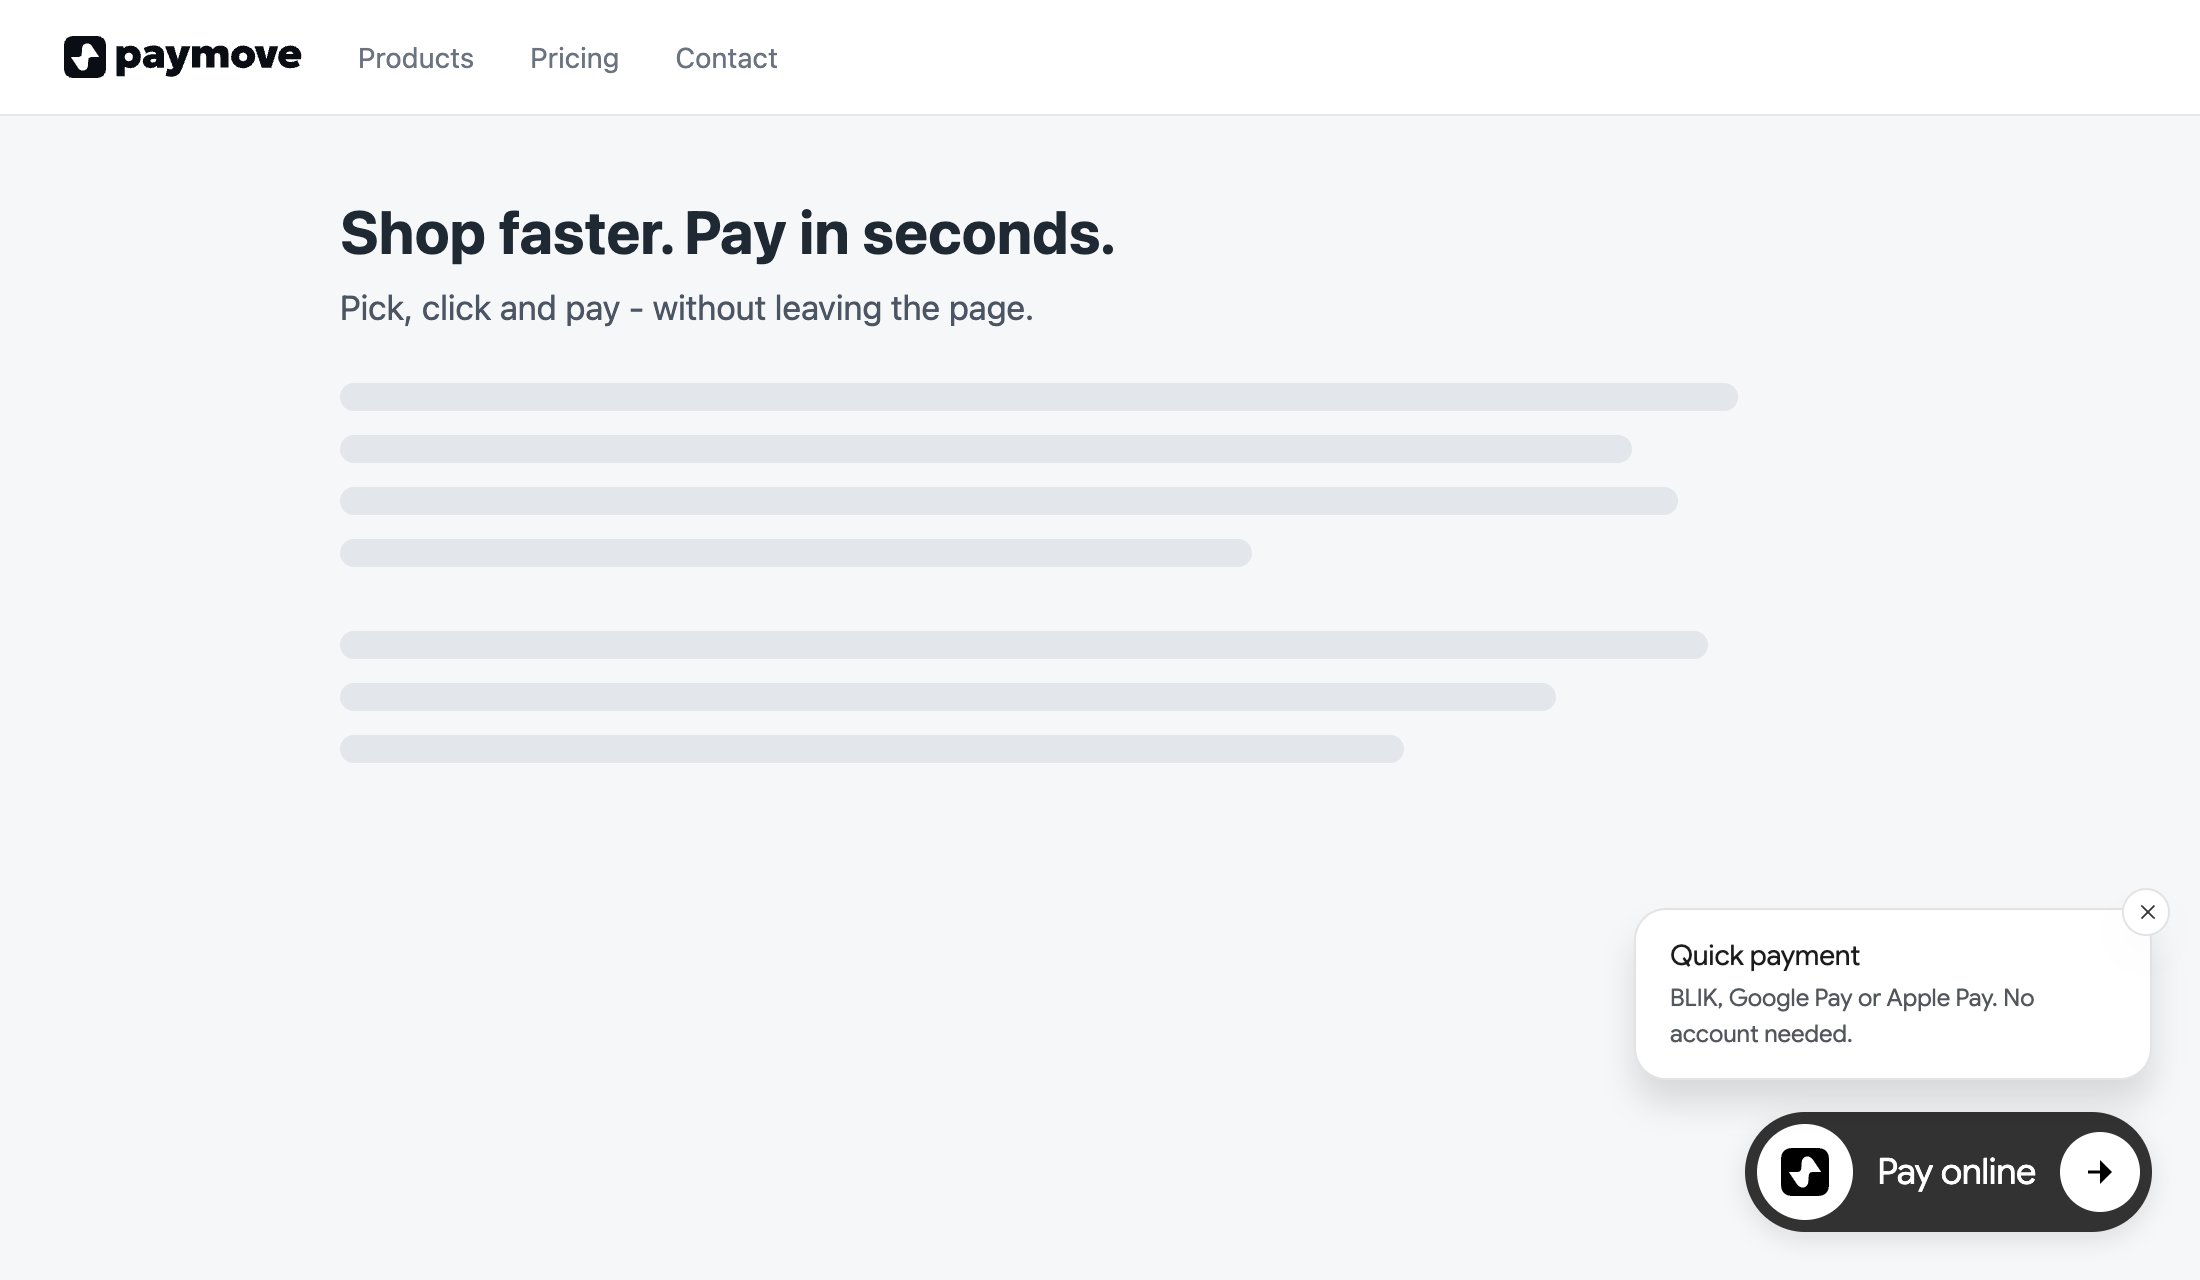
The widget button with a bubble in the bottom-right corner of the page
Quick start
1
Get the product ID
You need the
productId of an existing product - the UUID from the create-product response (the id field) or from the paymove panel. Instead of the UUID you can use the product’s public alias (shortName).2
Paste the script into your page
One tag in You don’t need a container in
<head> or at the end of <body>. Pick the script URL for your product from the Script URLs table:<body> - the widget adds the button to the bottom-right corner of the screen by itself.3
Test a payment
Click the button, go through the flow in the modal and pay with BLIK. In sandbox any 6-digit code starting with
777 works, e.g. 777123.4
Switch to production
Replace the script URL with the production one and use the product ID from production. Sandbox and production products are separate - an ID from one environment won’t work in the other.
Script URLs
The script URL depends on the product type and the environment. The path is always the same:/v1/sdk.js.
/v1/is the version of the widget interface. Breaking changes will go under a new path, so an existing integration won’t break after an update.- Load the script directly from the paymove domain - don’t copy it to your own server. The script recognises itself by its own URL and won’t start from another domain.
- Not sure which URL to use for your product? Write to integration@paymove.io.
What the customer sees
- A button with the paymove signet and your text, pinned to a corner of the screen. Optionally a bubble with a title and description appears above the button - on hover or during keyboard navigation.
- After the click: a modal with a loading screen, which goes straight into the payment page - without reloading your page.
- The product’s payment flow - with the same steps, prices and forms as outside the widget. The widget cannot change amounts or steps.
- A confirmation screen - the modal stays open so the customer can see the confirmation. The “End” button closes the modal.
Payment methods
The modal offers BLIK, Google Pay and Apple Pay - to the extent enabled for your product. Amounts are always in PLN. Apple Pay appears only in browsers that support it (Safari on Apple devices), and in a modal on your domain it requires a one-time domain registration - see Apple Pay activation.What’s next
Configuration
All
data-* attributes: button text, bubble, language, position, several widgets on one page.Controlling the widget
Custom buttons, opening from code and the after-payment event.
Apple Pay activation
merchantDomain in the product and the Apple verification file on your domain.